








The 10-Step Detailed Guide To Solar Panel Installation In 2026
14 July 2026
6 Mins Read
- A Comprehensive Step-By-Step Guide To Efficient Solar Panel Installation
- 1. Conduct A Site Assessment And Planning
- 2. Select The Appropriate Type Of Solar Panel
- 3. Choose The Solar System Configuration
- 4. Complete Approvals And Documentation
- 5. Install The Mounting Structure
- 6. Mount The Solar Panels
- 7. Connect The Panels And Complete Wiring
- 8. Install The Inverter And Battery Storage
- 9. Connect The System To The Grid
- 10. Testing And Commissioning
- Solar Panel Installation: Common Mistakes We Must Avoid
- 1. Purchasing An Overpriced System
- 2. Neglecting To Create A Checklist Of Components
- 3. Not Understanding System Dimensions
- The Important Steps To Effective Solar Panel Installation Explained
Clean energy is increasingly becoming a vital focus.
In fact, we are aware that concerns over greenhouse gases and carbon emissions continue to impact the environment.
In this context, India has made significant advancements in clean solar energy.
It is actively promoting the installation of solar panels in both industrial and residential settings.
The Solar Panel Installation process can be simplified by following 10 key steps.
Therefore, it is accessible to various types of buildings, including homes.
While the costs of installing a solar power system have gradually decreased, opting for a DIY approach can further reduce expenses.
Also, this will make solar energy more affordable for individual consumers.
A Comprehensive Step-By-Step Guide To Efficient Solar Panel Installation
While solar panels may appear straightforward once installed, the process involves extensive planning.
Additionally, industries need to go through proper implementation to ensure an effective solar energy system.
Improper installation can lead to:
- Energy Loss
- Safety Issues
- Lower Efficiency
In addition, this can shorten the lifespan of your solar setup.
Each phase, from assessing energy needs to finalizing the best solar panel company in India, plays an important role.
Below is a detailed breakdown of the solar panel installation process, from planning to commissioning:
1. Conduct A Site Assessment And Planning
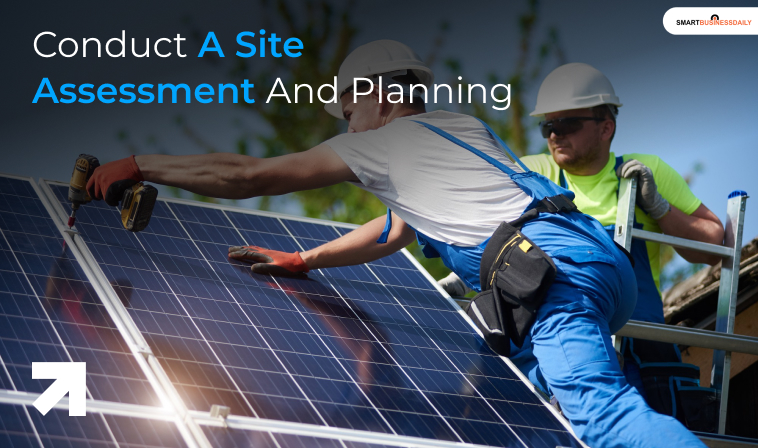
The initial phase of any solar installation involves assessing your electrical usage and your roof’s suitability.
For example, a household consuming around 300 kWh per month might require a 2–3 kW solar system.
This typically includes about 5–7 panels. Conversely, households that use 600 kWh or more will generally need a system of 5 kW or larger.
During this assessment, various roof factors are also evaluated, including sunlight exposure, shading, orientation, and available space.
A south-facing roof that receives ample sunlight can generate more energy with fewer panels.
In contrast, shaded or smaller roofs may require alternative configurations.
Combining your energy requirements with these roof conditions helps ascertain whether rooftop solar is a viable option and what the optimal system size should be for your residence.
2. Select The Appropriate Type Of Solar Panel
After determining the required size of your solar panels, the next step is to select the panel type that best fits your needs.
Additionally, there are certain factors that are essential in this decision-making process, such as:
- Efficiency
- Durability
- Available Usable Area
- Long-Term Output Potential
Choosing the correct panel type is vital to ensure a steady power output throughout the system’s lifespan.
For instance, monocrystalline panels are often recommended for homes with limited roof space.
This is because they produce higher power output per panel. Also, these are known to perform well in low-light conditions.
Conversely, polycrystalline panels are a more cost-effective option suitable for homes with larger rooftops.
Additionally, in certain setups, bifacial panels may be used to capture additional energy from reflected sunlight.
This works especially when mounted higher or over light-colored surfaces.
It’s important to ensure that the selected panels comply with recognized quality and safety certifications. These indicate their:
- Reliability
- Performance
- Suitability For Local Conditions
Two of these significant certifications include BIS standards and MNRE guidelines.
3. Choose The Solar System Configuration
Once you’ve selected the type of panels, the next step is to determine the configuration of your solar system among three main types:
- On-grid systems connect to the utility grid, allowing any surplus energy to be exported back. These systems are ideal in areas with a stable electricity supply.
- Off-grid systems function independently and include battery storage, making them suitable for locations with unreliable grid access.
- Hybrid systems integrate both functionalities, utilizing batteries for backup while maintaining a connection to the grid.
The choice of system configuration influences how electricity flows between the solar panels, your home, batteries, and the grid.
Thus, it affects both performance and potential savings.
Additionally, this structured approach to solar panel installation ensures that homeowners can maximize the benefits of solar energy.
Also, this leads to efficient and sustainable energy use.
Read Also: Find The Most Affordable Electricity Plan In Singapore
4. Complete Approvals And Documentation
Before commencing the installation of a solar panel system, it is essential to obtain the necessary approvals from the local electricity distribution company and other relevant authorities.
This process includes submitting requests for grid connections, system designs, and detailed information about the components.
Government programs, such as PM Surya Ghar, facilitate the approval and subsidy process for residential rooftop solar panels.
Proper completion of this step ensures that the installation complies with safety standards and can legally connect to the grid, preventing future regulatory issues.
5. Install The Mounting Structure
After securing the required approvals, the next step is to install the mounting structure on the roof or the ground.
This mount must be firmly secured to the surface and sealed properly to protect against environmental damage.
At this stage, the structure’s tilt and alignment are carefully adjusted to maximize sunlight exposure throughout the year.
The mounting structure serves as the critical support for the solar panel system.
6. Mount The Solar Panels
Once the mounting structure is in place, solar panels are positioned and securely fastened onto it.
Proper spacing between the panels is important for optimal performance, as it allows for necessary airflow and helps regulate temperature.
Ensuring precise alignment at this stage minimizes performance losses while maintaining the installation’s stability over time.
7. Connect The Panels And Complete Wiring
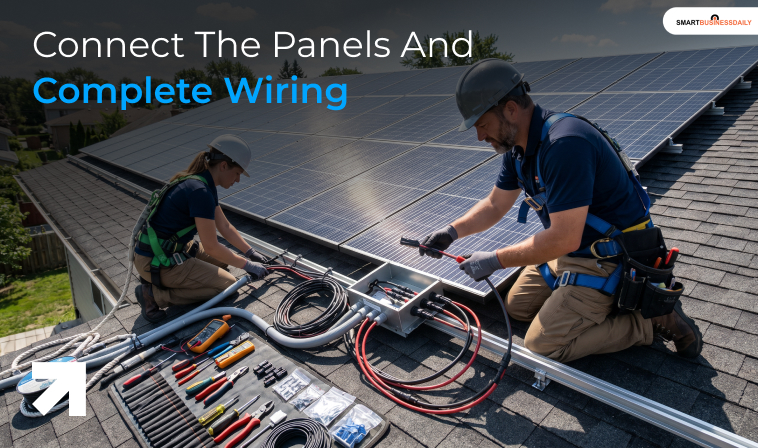
With the solar panels mounted, the next step is to connect them electrically to form a solar array.
Wires are routed through protective conduits leading to the inverter.
This critical step establishes the power bridge linking the energy generated on the roof to the home’s broader electrical system.
8. Install The Inverter And Battery Storage
An inverter is installed to convert the direct current (DC) produced by the photovoltaic cells into alternating current (AC), which is suitable for home use.
In some systems, especially in areas prone to extreme weather or frequent power outages, batteries are included to store excess energy for future use.
9. Connect The System To The Grid
For systems connected to the grid, the solar installation is linked to the local electricity network once all approvals are finalized.
A solar net meter is installed to monitor the two-way flow of electricity between the home and the grid.
This connection allows the home to use solar power during daylight hours, with any surplus exported to the grid.
At night or during periods of low sunlight, electricity can be drawn from the grid as needed, enabling homeowners to optimize their savings with the solar panel system.
10. Testing And Commissioning
After the system is connected to the grid, final testing and inspections are carried out to verify that everything is functioning correctly.
Once the system has passed these checks and is fully commissioned, it can be activated for use.
Homeowners may also consider installing monitoring devices to track energy generation and usage, which can further enhance savings and efficiency.
Also Check: What Is The Difference Between N Type And P Type Semiconductor: A Detailed Overview
Solar Panel Installation: Common Mistakes We Must Avoid
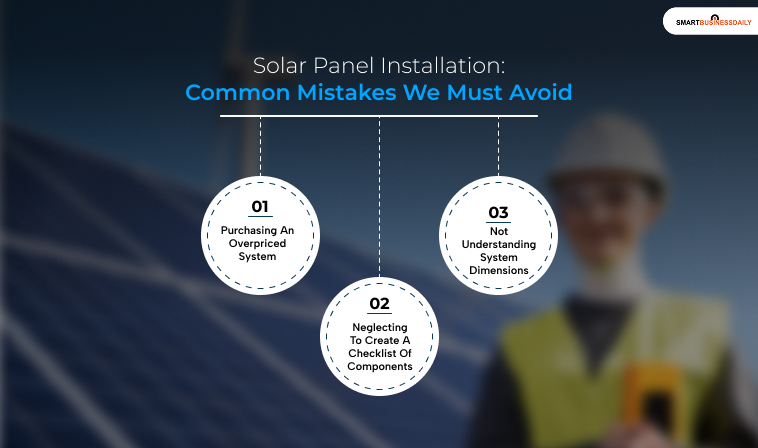
It’s important to be aware of common mistakes in solar installation to ensure a successful setup.
Here are some of these pitfalls and how to avoid them:
1. Purchasing An Overpriced System
One key mistake is buying a solar system that exceeds your budget.
To avoid this, begin by researching the costs associated with different types of solar panels and installations.
Compare options to find a system that meets your financial needs while delivering reliable performance.
2. Neglecting To Create A Checklist Of Components
Another common error is failing to compile a comprehensive checklist of the necessary components for your solar energy system.
Ensure you include essential items such as solar panels, a charge controller, a power inverter, and a battery.
Having a checklist helps streamline the installation process and ensures that no crucial elements are overlooked.
3. Not Understanding System Dimensions
It’s also vital to accurately assess the size of the solar system required for your energy needs.
Begin by calculating the total wattage of all electrical devices you plan to power.
Take into account the number of hours each appliance will be in use daily.
This assessment will help determine the appropriate system size to effectively meet your energy requirements.
The Important Steps To Effective Solar Panel Installation Explained
Installing solar panels is a great long-term investment. It saves you money and helps the environment.
To get the best results, follow these steps carefully. Start by checking your electricity usage and your roof’s condition.
Choose the right solar system and work with reliable installers.
Microtek offers easy-to-install, reliable, and budget-friendly solar systems.
Whether you live in a city or a village, we are here to power your home with clean energy. Solar energy is not just for the future; it is a solution for today. The sooner you start, the more you will save.




Related Articles



Comments Are Closed For This Article