


How to Tie a Bracelet Knot the Easy and Fast Way?
28 May 2025
6 Mins Read

- Not All Knots Are Equal
- Slippery Materials Need Structure
- Thicker Cord Needs Space
- Start With the Overhand
- What Makes It Reliable
- Double It Up for More Hold
- Try the Sliding Knot for Adjustability
- Make Sure the Ends Cross Right
- Hide the Knot If You Want a Cleaner Look
- The Square Knot Feels Strong
- Tie It With Intention
- Add Extra Turns for Grip
- Barrel Knots Look Clean on Ends
- Rolling Motion Helps It Form Right
- Works Well With Glue for Extra Security
- Mistakes to Avoid
- Skipping the Test Fit
- Ignoring Cord Type
- Make It Personal With Beads or Ends
- Color Adds Contrast
- Burning Ends Works on Synthetic Cord
- Conclusion
- FAQs
- Up Next..
Tying a bracelet knot sounds easy until it’s not. Maybe the knot slips. Maybe it looks bulky. Or worse, maybe it just doesn’t stay in place. You’re left frustrated, wondering what went wrong.
Here’s the truth: there’s a right way to do it. And once you know the technique, it sticks. I’m going to break it down in a way that makes it feel simple and doable no matter what kind of bracelet you’re tying.
Not All Knots Are Equal
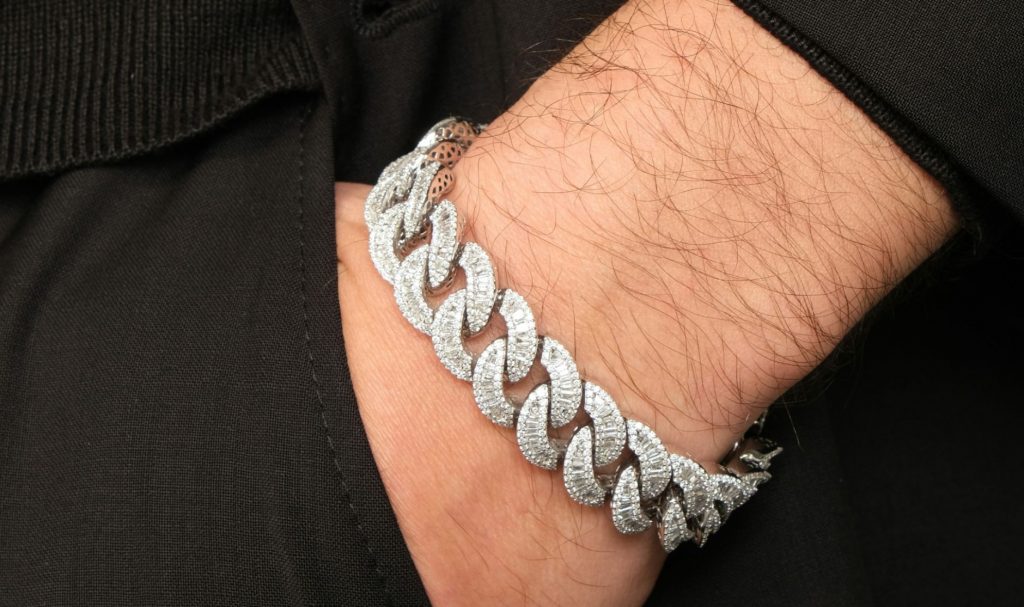
Some bracelets need extra support because of what they’re made from. That’s especially true if you’re tying something heavier like a moissanite men bracelet, which uses solid stones and strong links that demand a knot with better hold and stability.
Start by understanding one thing: not every knot works for every bracelet. Some materials slide too much. Others are too thick to hold a small knot. The right knot depends on the cord, the use, and how secure you want it to be.
Slippery Materials Need Structure
If your bracelet is made of nylon or waxed cord, you’ll need a knot with more grip. Those smooth cords don’t hold simple ties well. You’ll want something that locks in.
The square knot or surgeon’s knot usually works best here. They hug the material instead of slipping off.
Thicker Cord Needs Space
For leather or rope bracelets, bulk is your challenge. A tiny knot gets lost. It can also strain the cord if pulled too tight. In this case, overhand knots or barrel knots work better, they’re easier to tighten without damaging the ends.
It also keeps the bracelet flexible, which makes it more comfortable to wear.
Start With the Overhand

If you’re a beginner or just want something quick, start here. The overhand knot is the easiest one to get right. You’ve likely tied it before without realizing it. It’s that basic loop where one end tucks through the other.
Simple, but effective.
What Makes It Reliable
The key to a good overhand knot is tension. Don’t just tie it and pull. Guide it slowly while tightening. That lets you control how the ends fall and how clean the loop looks.
If it looks uneven or bunchy, loosen and try again before it tightens fully.
Double It Up for More Hold
Sometimes one loop isn’t enough. Double the overhand knot by looping it twice before pulling through. That small change increases the grip and helps hold heavier materials together.
It’s one of those tweaks that makes a big difference but takes only seconds to do.
Try the Sliding Knot for Adjustability

One of the best things you can do is make your bracelet adjustable. That’s where the sliding knot comes in. It allows you to tighten or loosen the bracelet with a simple pull, no clasps, no hassle.
It works great for casual styles and gifting.
Make Sure the Ends Cross Right
For this knot, precision matters. You’re tying both ends around the opposite cord. If they’re too tight, the knot won’t move. Too loose, and it won’t hold. Get that balance, and it becomes a smooth sliding loop.
Once you feel it click, you’ll know it’s right.
Hide the Knot If You Want a Cleaner Look
Some people like their knots visible. Others want them tucked in. You can hide the sliding knot by adding a bead or pulling it slightly behind the bracelet’s back side. That way, it doesn’t distract from the design.
It’s a small style choice that adds polish.
The Square Knot Feels Strong
If you want the knot to stay put, this one’s for you. The square knot feels solid and looks neat. You’ll often see it in friendship bracelets or survival cords.
It gives off a more structured look and holds well under pressure.
Tie It With Intention
The trick is to go left over right, then right over left. That’s what creates the square shape and prevents twisting. If you reverse it or rush through, the knot looks uneven and can shift over time.
Take your time. It’s worth the extra few seconds.
Add Extra Turns for Grip
If the cord is thin, wrap it twice before finishing the knot. That helps it stay in place without stretching. It also adds a little texture, which looks nice on woven or handmade pieces.
Think of it as grip without glue.
Barrel Knots Look Clean on Ends
If you’re tying off a bracelet and want it to look finished, the barrel knot is a good pick. It forms a tight, rounded knot that doesn’t fray easily. You’ll see this one used in leather bracelets or paracord styles.
It’s one of my favorites for a clean, minimal look.
Rolling Motion Helps It Form Right
This knot gets its shape from how you roll the cord around itself before pulling through. Three or four wraps are usually enough. If you do too many, it bulks up fast.
Pull slowly to keep the wraps lined up before tightening fully.
Works Well With Glue for Extra Security
If you never want it to come undone, a dab of clear jewelry glue seals the deal. It’s optional, but useful if the bracelet is a gift or something you wear often.
Make sure to let it dry fully before wearing.
Mistakes to Avoid
Tying bracelet knots isn’t hard. But there are a few mistakes I made early on that you can skip. Trust me, avoiding these saves you from frustration later.
First, don’t over-tighten too early. Let the knot sit before you pull hard.
Skipping the Test Fit
Tie the knot, then check the fit before trimming ends. Once you cut the extra cord, there’s no going back. Leave half an inch until you’re sure it sits right on your wrist.
That little space gives you options if you need to retie.
Ignoring Cord Type
Treating all cords the same is a fast way to ruin a bracelet. What works for cotton doesn’t work for satin or paracord. Know what you’re using. Adjust the knot to match the feel and thickness of your material.
Materials deserve different handling.
Make It Personal With Beads or Ends
Knots do the job, but details make it yours. Add beads near the knot or use cord ends to dress it up. Even a small metal clamp can take a basic knot and make it feel premium.
A touch of gold, like a tiny bead or accent, can instantly level up the look without overdoing it.
Style always sits in the small things.
Color Adds Contrast
If the bracelet is one color, use a different one for the knot. It breaks up the design and draws attention. If you want it to blend, stick with a similar shade.
Both options work it just depends on the vibe you’re going for.
Burning Ends Works on Synthetic Cord
Some cords like nylon or paracord can be sealed with heat. A lighter melts the tip slightly, stopping fray. Do this carefully. Too much heat burns the knot. Just a quick touch is enough.
Safety first. Keep fingers away.
Conclusion
Knowing how to tie a bracelet knot means more than just keeping it together. It gives your piece structure, strength, and character. Whether you want a clean finish, a sliding adjustment, or a bold accent there’s a knot for that.
Try a few. Test them out. You’ll get a feel for what fits your style. The key is patience. Tighten slowly, don’t rush, and trust your hands. Once you get it right, that knot becomes more than a closure; it becomes part of the bracelet’s story.
FAQs
The overhand knot is simple and works on most cords. It’s a good place to begin and easy to master.
Tighten slowly, and double the loop when needed. Use glue or heat for added hold if you’re using slippery cord.
It works best on thin, flexible cords. Leather or stiff rope may not slide easily without extra space.
Try a barrel knot or overhand with glue. These both look clean and hold strong on thicker materials.
No tools required. Just cord, hands, and maybe scissors. Beads or glue are optional for extra finish.
Up Next..
- Why Custom Jewelry Packaging Is So Important?
- Top Tips for Selling Gold for Top Dollar in Today’s Market
- Buying Diamond Engagement Rings: Things To Check Before Choosing!


Related Articles


Comments Are Closed For This Article