








White Ink Printer Technology: The Complete Visual Layering Guide
31 August 2026
6 Mins Read

- Master Technical Matrix: White Ink Systems
- Advanced Layering Methods
- 1. The Underprinting Technique
- 2. The Overprinting Technique
- 3. Spot White Mode
- Upfront Equipment vs. Maintenance TCO
- Advanced RIP Micro-Adjustments
- The Choke Metric
- The Bleeding And Pooling Fix
- Use A White Ink Printer Efficiently: Best Practices To Follow
- 1. Activate Automatic Ink Circulation Protocols
- 2. Execute Manual Nozzle Purges And Capping Station Cleanings
- 3. Regulate Ambient Workspace Temperature And Humidity Controls
- 4. Implement Dedicated Daily Print-Head Test Swabs
- 5. Perform Pre-Shipment Flushing Procedures For Long-Term Storage
Standard computer printers utilize a basic four-color system called CMYK.
This setup mixes cyan, magenta, yellow, and black to build an entire spectrum of hues.
However, these traditional inks are completely transparent.
Consequently, traditional hardware interprets pure white as a blank space.
It relies entirely on the background color of the paper to show white elements.
If you feed dark paper into a basic CMYK unit, your white graphics simply vanish.
To solve this problem, creative industries use a specialized white ink printer.
These specialized systems utilize highly opaque, titanium dioxide-based pigments or white toners.
As a result, you can lay down a solid, bright foundation on clear, dark, or textured surfaces.
This blog tells you everything about a white ink printer.
Additionally, if you want to know how to set up a printer or what a sublimation printer is, check out the attached detailed guides.
Master Technical Matrix: White Ink Systems
The table below concisely explains the functions and dynamics of a white ink printer.
If you want to know more about the different types of printer in computer, check out the detailed attached guide.
| Printer Class | Core Printing Mechanism | Primary Commercial Application | Maintenance & Cost Profile |
| Direct-to-Film (DTF) | Prints CMYK onto a PET film, then applies an opaque white base layer. | High-volume custom t-shirts, sportswear, and flexible textile apparel. | High maintenance; requires daily fluid circulation to prevent nozzle clogs. |
| UV DTF / Flatbed | Deposits specialized ink instantly cured by intense UV LED light bars. | Printing on hard surfaces like glass, acrylic, metallic items, and promo phone cases. | Premium investment; delivers instant, exceptionally durable, scratch-resistant prints. |
| White Toner Laser | Electrostatic laser drums charge opaque white micro-powder particles. | Short-run custom wedding invitations, black cardstock menus, and foil transfers. | Zero fluid clogging; high cartridge refill costs but requires zero daily cleanup. |
Advanced Layering Methods
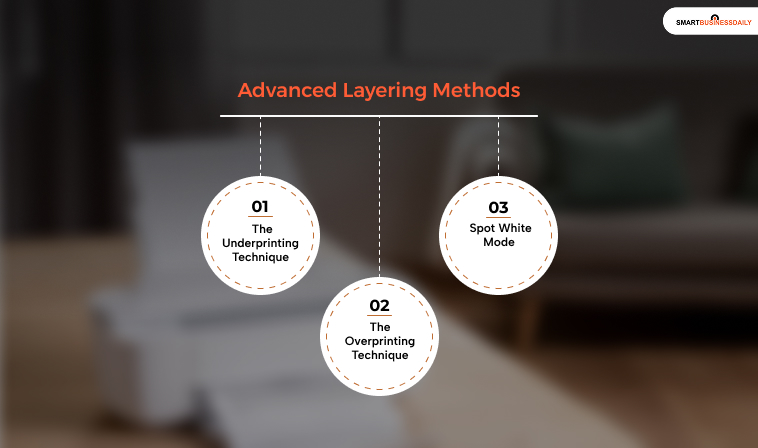
A professional white ink printer does not merely spray pigment onto a page.
Instead, it uses a dedicated Raster Image Processor (RIP) software to execute three distinct design layouts:
1. The Underprinting Technique
Underprinting is the standard layout for dark substrates. First, the printer lays down a solid white background flood layer.
Then, it prints the transparent CMYK colors directly on top of the fresh white base.
This block prevents the dark paper from absorbing the colored inks, maximizing your artwork’s vibrancy.
2. The Overprinting Technique
Overprinting is engineered specifically for clear vinyl, acrylic, or window glass graphics.
The hardware reverses the digital design image and prints the CMYK layers first.
Following that, it prints a heavy layer of white ink over the back of the colors.
This process creates a light-diffusing shield, making the signage perfectly visible from the outside of a storefront window.
3. Spot White Mode
Spot mode bypasses background flooding entirely.
Instead, it isolates the white channel to print specific accents, line text, or border outlines alongside standard colors.
In addition, a lot of people are confused about what does collate mean when printing. For that, the attached guide suffices.
This layout creates stark, high-contrast text block readouts on dark backgrounds without wasting unnecessary ink.
Upfront Equipment vs. Maintenance TCO
Investing in white ink capability requires balancing equipment costs against your weekly production volume.
Liquid white inks utilize heavy titanium dioxide particles to achieve their bright opacity.
However, these heavy particles settle out of suspension quickly if left sitting inside ink tubes.
Therefore, low-cost liquid inkjet models demand continuous daily maintenance.
You must run automated circulation pumps and clean print heads to avoid catastrophic nozzle blockages.
Conversely, white toner laser systems use completely dry powder.
They require zero fluid maintenance, making them far more cost-effective for small boutique shops despite higher initial cartridge costs.
Advanced RIP Micro-Adjustments
Achieving high-fidelity output with white pigments requires tight control over software-level print configurations.
Even with clean hardware, default settings can cause physical artifacts that ruin final products.
The Choke Metric
Because liquid white ink layers sit beneath transparent CMYK colors, any slight hardware misalignment can cause an unwanted bright border to peek out from the edges of your design.
RIP programs fix this by applying a “Choke” or “Spread” modifier.
This setting pulls the white underbase inward by 1 to 3 pixels, hiding the white edge perfectly beneath the top color layer.
The Bleeding And Pooling Fix
White inks require heavy ink loads to achieve true opacity on dark materials.
However, if the ink volume is configured too high, the liquid will pool and bleed into adjacent dark outlines before curing.
Technicians resolve this by lowering the “Highlight White Strength” to around 70% or raising the integrated print-bed heating element to flash-dry the droplets the instant they strike the media surface.
Use A White Ink Printer Efficiently: Best Practices To Follow
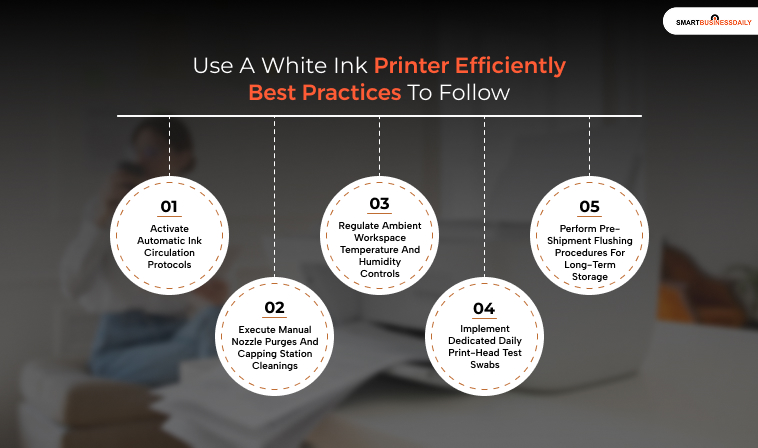
To preserve optimal output resolution, minimize total cost of ownership (TCO), and prevent costly hardware downtime, system administrators and users must execute disciplined maintenance workflows.
Structured preventive routines protect the internal mechanical tracks and delicate electronic components of your white ink printing infrastructure.
1. Activate Automatic Ink Circulation Protocols
Liquid white inks utilize heavy titanium dioxide particles to achieve their bright opacity.
However, these dense pigments settle out of suspension quickly if left sitting idle inside ink tubes, causing catastrophic nozzle clogging.
You must ensure that your hardware’s internal automatic circulation protocol remains active and triggers every thirty minutes.
This continuous physical agitation keeps the heavy white pigments properly suspended, protecting your printheads from drying out during standby periods.
2. Execute Manual Nozzle Purges And Capping Station Cleanings
Periodically clear out the physical scraper blades, wiper blades, and ink capping stations using specialized nozzle protection fluids or cleaning solutions.
Liquid ink residues naturally accumulate around these components and solidify over time into a tough gel.
Scraping away this gel buildup prevents physical head strikes and eliminates major printing defects, including color banding and weak white ink opacity.
3. Regulate Ambient Workspace Temperature And Humidity Controls
White ink systems are exceptionally sensitive to changes in environmental conditions and require stable operating climates to function properly.
Maintain your printing environment within a strict window of 20°C to 25°C and 40% to 60% relative humidity.
Low humidity levels cause water-based DTF inks to evaporate rapidly at the nozzle surface, while excess heat accelerates the premature gelling of specialized UV ink formulations.
4. Implement Dedicated Daily Print-Head Test Swabs
Never begin a high-volume commercial production run without first executing a physical nozzle check and pattern test.
If the printed test sheet reveals any missing text lines or erratic droplet paths, immediately trigger an automated printhead purge sequence.
Consistently monitoring the physical state of individual nozzle channels ensures uniform underbase thickness and prevents ruined product stock.
5. Perform Pre-Shipment Flushing Procedures For Long-Term Storage
If you anticipate leaving your white ink printing system completely idle for more than a week, you must clear out the fluid tracks entirely.
Flush the white channel lines with specialized shipping or storage flushes until the system is completely free of pigments.
Leaving liquid titanium dioxide inside an unpowered device over an extended period risks permanent sediment settling, which usually destroys the printhead assembly entirely.




Related Articles