







How Larger B2b Exhibits Balance Product Displays, Meetings, Logistics, And Visitor Circulation
28 August 2026
6 Mins Read
- The Big Picture: Choosing Your Booth Size
- The 20x30 Space (600 Square Feet)
- The 30x30 Space (900 Square Feet)
- The 30x40 Space (1,200 Square Feet)
- 4 Effective Layout Ideas For A 30x30-Foot Space
- The Central Tower
- The Open Court
- The Split-Screen Design
- The Product Showcase Plus Hospitality
- Designing For The Human Experience
- Overhead Hanging Signs
- Electrical And Wire Routing
- Dedicated Storage Space
- The Construction Timeline
Have you ever walked into a trade show floor and felt completely overwhelmed?
The flashing lights everywhere, giant screens blaring videos, and crowds of people bumping into each other.
Then you spot it: one large booth that looks calm, organized, and inviting.
It has a beautiful product area, comfortable seats for private chats, and enough breathing room that you do not feel trapped.
When you see a booth like that, it did not come together by accident. It is always the result of smart, careful planning.
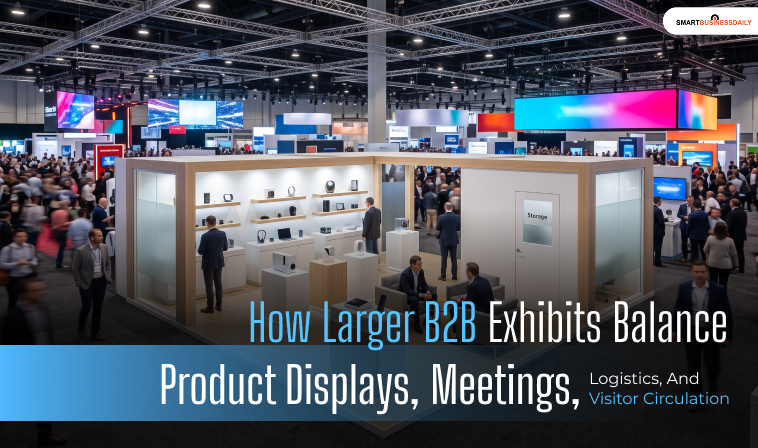
When a business decides to invest in a larger space, like a 30×30 foot island layout, they get a massive 900 square feet of floor to play with.
This provides considerable room to present its products or services. However, a larger footprint also creates a distinct design challenge.
How do you fit in product displays, private meeting areas, storage rooms, and large crowds without making the whole thing look cluttered or disorganized?
Here is a look at how professional designers handle large-scale trade show booth layout planning to create an inviting, stress-free space.
The Big Picture: Choosing Your Booth Size
Before we dive into the fun layout ideas, let’s talk about size.
The amount of space you choose changes how you plan everything else. Here is a quick breakdown of how common large sizes compare to each other:
The 20×30 Space (600 Square Feet)
This layout is long and rectangular. It is fantastic if you want a clear “this side or that side” design.
For example, you can put noisy product demos on the left and a quiet meeting space on the right.
The main downside is that it lacks depth, which can make it feel a little cramped if a huge crowd arrives at once.
The 30×30 Space (900 Square Feet)
This is a perfect square. The attendees can typically approach your booth from all four sides, depending on neighboring booth placements.
It gives you the best balance for setting up different “zones” without making your guests feel boxed in.
The 30×40 Space (1,200 Square Feet)
This size can be highly beneficial for displaying large physical products such as heavy machinery, medical equipment, or vehicles.
However, it typically requires logistical considerations for shipping crates and site safety.
For many growing brands, a 30×30 trade show booth planning is a practical milestone.
It offers an impactful presence while remaining logistically manageable within a standard exhibition budget.
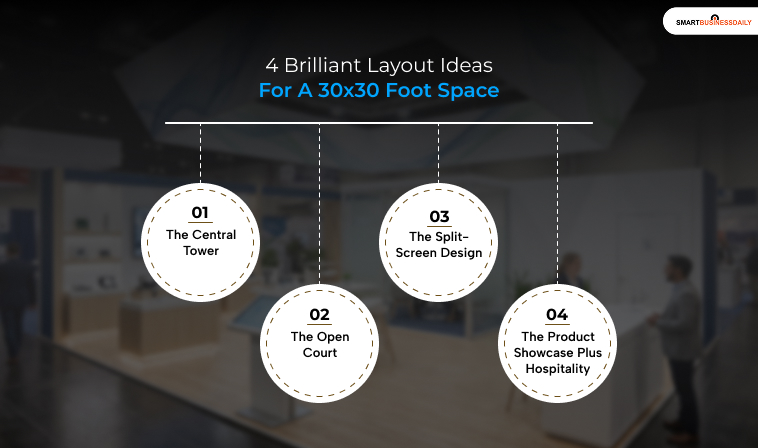
4 Effective Layout Ideas For A 30×30-Foot Space
Now that you have your square footage, you need to decide on your walls, counters, and tables.
First, forget about filling all 900 square feet. Think about what you want your visitors to see the first time they see you.
Also, focus on the goals you want to achieve at this exhibition by aligning your booth construction with your design.
Below are four simple layout ideas for arranging your trade show booth around your main goals.
The Central Tower
Build a tower or reserve a place for a storage room in the exact center of your square.
Install interactive product displays around the room at the ends of the booth counters.
This design works because such an original central tower layout catches the eye of any passerby.
The peripheral product displays attract traffic as they are strategically placed along the trade show’s aisle.
It is great for technology companies or other organizations dealing in innovative goods that need to be demonstrated.
The Open Court
Leave the center of your booth open and free of structures.
Second, build low counters with monitors, showcase windows, and display stands around the perimeter.
This approach can support visitor engagement by providing an unobstructed view of your products.
This design also invites visitors to explore your booth, since there are no walls or dividers they have to walk around to reach your products.
It is perfect for showcasing retail goods, food ingredients, and other items that need a long and quiet inspection.
The Split-Screen Design
Divide your booth space into two zones with a reception desk in the middle. On one side, create a high-energy sales area with screens and product showcases.
On the other side, furnish a comfortable lounge area with cozy seats and set up your sales desk.
This design separates entertaining and sales areas, as well as noise and calm.
Your salespeople at the entrance will engage visitors with interactive displays and then lead them through the aisle to the closed sales area.
This is ideal for B2B enterprises that need to involve potential clients in lengthy one-on-one conversations.
The Product Showcase Plus Hospitality
Position flagship products near high-traffic aisles while utilizing the back of the booth for a hospitality element, such as a coffee station or light seating area.
This configuration works because providing light meals attracts potential clients.
Moreover, it encourages them to walk past your product displays to reach the coffee bar and dining area.
It is suitable for product launch events. It also works well for entertaining long-term clients and prospects.
Designing For The Human Experience
It is easy to get caught up in choosing colors and graphics, but great trade show booth design focuses on how humans actually move, react, and feel.
If your booth feels stressful or crowded, people will leave.
One possible planning framework is Conversion-Ready Zoning to prevent this. This means dividing your booth into three clear steps:
- The Attraction Zone: High-up hanging signs or bright LED walls that grab attention from far away.
- The Discovery Zone: Counters or iPads where people can learn about your services and chat with your staff.
- The Conversation Zone: Comfortable chairs or standing-height tables where serious buyers can talk details.
Additionally, pay attention to the materials you use. Trade show halls are full of cold concrete, bright metal, and harsh plastic.
Bring in softer, warmer textures to make your booth stand out. Try using wood accents, soft fabric walls, or even artificial green plants.
When you introduce these natural elements into your trade show booth design, you instantly relax visitors and make them want to stay longer.
The Hidden Stuff: Managing Logistics And Back-Of-House
Let’s be honest: a booth can look absolutely well-designed, but if the wires are a total mess or the team can’t find the brochures, its daily operation can suffer.
Managing the behind-the-scenes logistics is just as crucial as the physical aesthetic.
Modern trade show booth design must always account for these heavy operational tasks long before the build begins.
Overhead Hanging Signs
Large island spaces often allow for overhead signage, which can significantly enhance visibility.
You can also review the specific venue kit early, as most major convention centers have localized guidelines on sign weight limits and authorized labor requirements.
Electrical And Wire Routing
Incorporating monitors, lighting, and workstations requires thorough power planning.
Reviewing an electrical grid blueprint with your design team can help determine how to route cables safely beneath the flooring to prevent tripping hazards.
Dedicated Storage Space
Never underestimate the power of a hidden storage closet. You will have coats, bags, extra water bottles, and boxes of promotional pens.
If you do not have suitable storage, all these items can accumulate on the counters and make the booth appear cluttered.
The Construction Timeline
Developing a customized 30×30 foot island booth involves extensive preparation.
A planning timeline of roughly 10 to 16 weeks is a helpful benchmark, depending on the complexity of your custom build.
This timeframe provides a buffer to manufacture components, manage graphic print proofs, and coordinate freight delivery.
And it doesn’t rely on unpredictable rush windows.
Read Also:




Related Articles