






How To Set Up A Printer: The Ultimate Step-By-Step Guide In 2026
26 August 2026
5 Mins Read
- Unboxing And Core Hardware Preparation
- · Step 1: Strip Internal Shipping Restraints:
- · Step 2: Power Initialization
- · Step 3: Cartridge And Media Calibration
- High-Density Printer Setup Configuration Matrix
- How To Set Up A Printer: Step-By-Step Operating System
- Windows 11 Wireless Installation
- macOS Wireless System Integration
- How To Set Up A Printer: Mobile Printing Configuration
- Setting Up iOS Devices (iPhone And iPad)
- Setting Up Android Devices
- Troubleshooting Common Setup Failures
- Always Verify Your Printer Setup Before You Use It
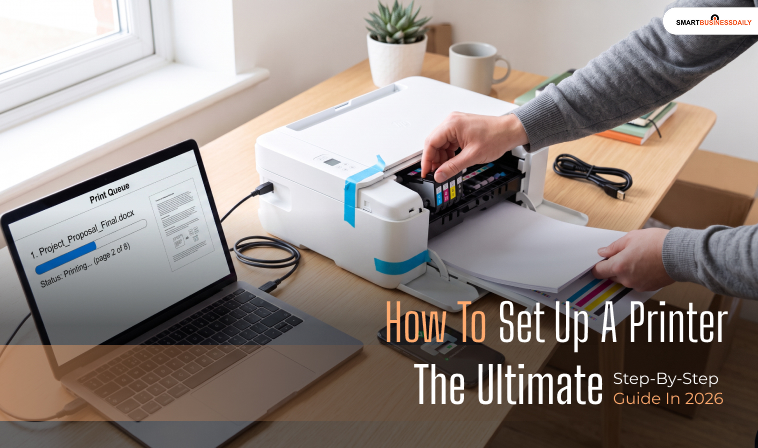
On average, setting up a modern wireless printer takes under 10 minutes using a smartphone or computer application.
On the other hand, the local wired installation provides immediate point-to-point data transmission via a single USB connection.
Establishing a reliable hardware configuration ensures your system can process print commands without unexpected disconnections.
This comprehensive optimization guide outlines the necessary step-by-step connection pipelines and wireless network configurations.
You will also learn the driver installation workflows required to deploy your machine across Windows and macOS environments.
Apart from this, if you wish to know more about types of printer in computer, you can check out the attached listicle article.
Unboxing And Core Hardware Preparation
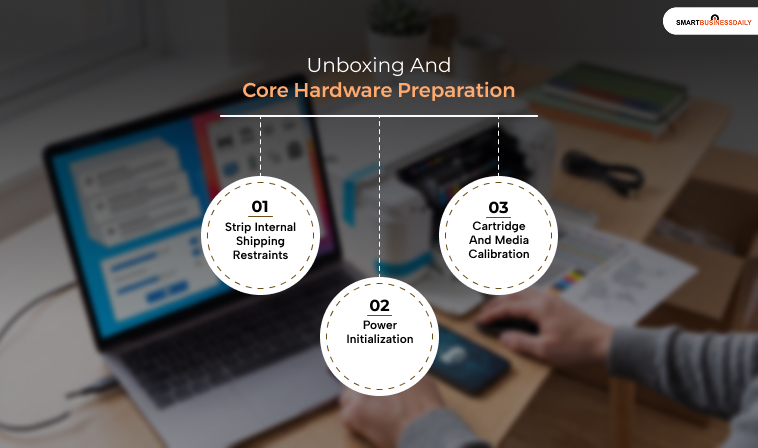
Before sending any digital data packets from your computer, you must prepare the physical printing asset to ensure smooth mechanical operation.
Also, if you want to learn more about how to scan a document, here’s the detailed guide for the same. Check it out!
· Step 1: Strip Internal Shipping Restraints:
Place the machine on a flat, stable surface.
Remove all visible strips of bright orange or blue shipping tape from the:
- External Casing
- Paper Trays
- Scanning Bed Lid
Open the internal access doors and remove the protective plastic foam blocks surrounding the delicate ink carriage track.
· Step 2: Power Initialization
Connect the power cord directly to a grounded wall outlet.
Avoid using unshielded multi-plug extension cords, which can cause voltage fluctuations.
Turn on the machine and select your default language and geographic parameters on the control panel screen.
· Step 3: Cartridge And Media Calibration
Install the baseline ink tanks or laser toner cartridges provided by the manufacturer.
Firstly, you have to open the primary paper tray. Then, adjust the physical sliding width guides to lock your paper stock in place.
Additionally, you must allow the machine to run its internal automated print-head alignment sequence.
You Can Also Check: How To Fix A Persistent Printer Offline Status: A Complete Technical Restoration Guide.
High-Density Printer Setup Configuration Matrix
Depending on your workplace layout, network stability, and device sharing requirements, select the specific connectivity architecture that matches your operational needs:
| Connectivity Format | Physical Hardware Required | Primary Setup Advantage | Ideal Deployment Scenario | Common Setup Failure Node |
| Wireless Wi-Fi | 2.4GHz/5GHz Router.Built-in printer wireless chip. | Absolute placement flexibility; enables multi-device local sharing. | Open-plan home offices and multi-user corporate layouts. | Device toggles offline due to dynamic IP address reassignments. |
| Physical USB Line | High-speed USB-A or USB-C data cable. | Zero network dependence; instant, unjammable plug-and-play. | Standalone workstations handling highly sensitive data. | Cable length restrictions cap device placement to a short range. |
| Ethernet Network | Cat6 Ethernet cable. Local network switch port. | Maximum data transmission speeds; stable, ironclad connection. | High-volume corporate print rooms and enterprise hubs. | Requires physical proximity to localised network wall drops. |
How To Set Up A Printer: Step-By-Step Operating System
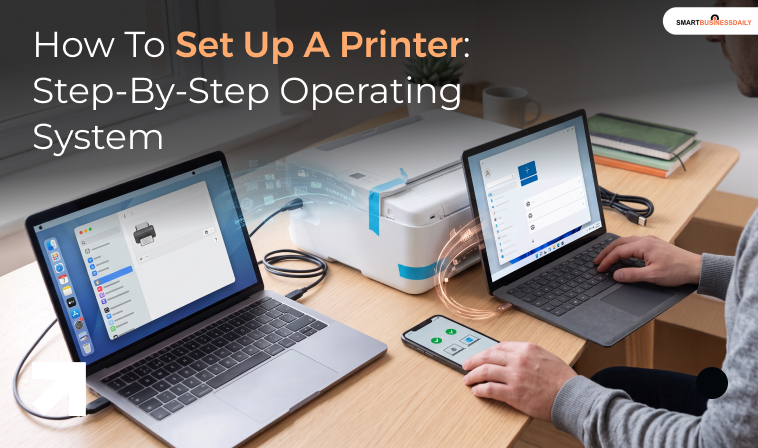
Once the physical hardware is primed and initialized, map the device to your computer workstation using your operating system’s native software menus.
Windows 11 Wireless Installation
- Press the Windows Key + I shortcut on your keyboard to open the central Settings console.
- Select the Bluetooth & devices category from the left sidebar navigation pane.
- Click on the Printers & scanners tab to open the active local device directory.
- Click the prominent Add device action button. The operating system will automatically scan your local network for active printing signals.
- Locate your specific manufacturer model from the discovered hardware pool, click Add device, and allow Windows to automatically download the appropriate core driver files from the cloud.
macOS Wireless System Integration
- Click the native Apple logo in the upper-left corner of your desktop screen layout and launch System Settings.
- Scroll down the left sidebar menu to locate and select the Printers & Scanners configuration suite.
- Click the Add Printer, Scanner, or Fax button sitting directly beneath the empty device registry table.
- Select the Default icon tab (represented by a classic printer graphic) in the expanded pop-up window.
- Select your network-connected machine from the list, confirm that the Use dropdown field displays AirPrint or your official device driver, and click Add to complete the software pipeline.
How To Set Up A Printer: Mobile Printing Configuration
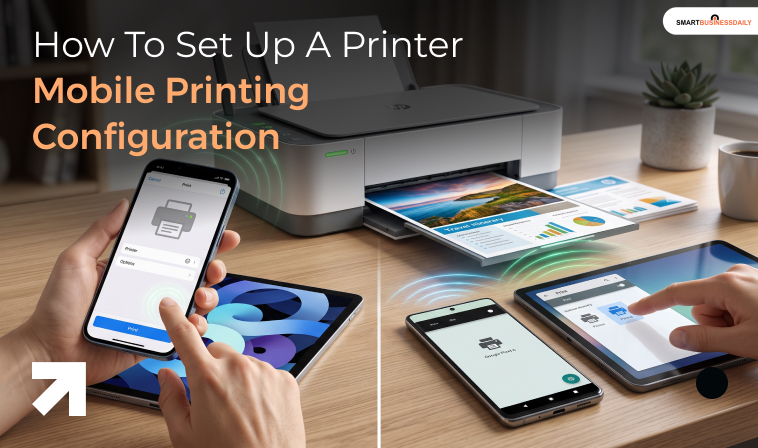
Modern printers allow direct printing from smartphones and tablets without needing a desktop computer.
Setting Up iOS Devices (iPhone And iPad)
Apple devices use a built-in technology called AirPrint.
- Ensure your iPhone or iPad is connected to the exact same Wi-Fi network as your printer.
- Open the document, photo, or webpage you want to print.
- Tap the Share action button or the action icon.
- Scroll down the menu options and tap Print.
- Tap Select Printer and choose your network-connected printer.
- Adjust the print volume or color options, then tap Print in the top-right corner.
Setting Up Android Devices
Android devices utilize the Default Print Service or manufacturer-specific companion apps.
- Connect your Android smartphone to the matching local Wi-Fi network.
- Open Settings, search for Printing, and ensure the Default Print Service toggle is turned on.
- If your printer is not detected, open the Google Play Store and install the official print service plugin for your brand (e.g., HP Print Service Plugin, Brother Print Service Plugin).
- Open your document, tap the three-dot menu icon, select Print, choose your printer, and confirm the job.
Additionally, if you wish to know what does collate mean when printing, check out the attached article.
Troubleshooting Common Setup Failures
If your printer fails to function correctly after completing the steps above, use these verified diagnostic steps to isolate the issue.
| Symptom | Probable Cause | Corrective Action |
| Printer not found during network search | Network frequency mismatch or IP conflict | Ensure the printer and computer are on the same 2.4GHz or 5GHz Wi-Fi band. Restart your internet router. |
| Status shows “Printer Offline” | Lost network connection or print spooler error | Power-cycle the printer. Clear the Windows Print Spooler queue via the Services menu. |
| Blank pages or faded text printing out | Protective tape remaining on cartridges or clogged nozzles | Remove the cartridge and check for plastic film. Run a “Head Cleaning” cycle via the maintenance menu. |
| Paper jam during first print job | Misaligned paper guides or overloaded input tray | Pull out the paper tray. Straighten the paper stack, reduce the sheet count, and adjust the guides tightly against the paper edges. |
Always Verify Your Printer Setup Before You Use It
Before using the printer for regular daily tasks, you must verify the operational integrity of the software connection.
Open the Printers & Scanners utility on your computer. Click on your newly installed printer model and select Print a test page.
A successful test page confirms that the operating system, the installed device driver, the data cable or network path, and the physical print mechanisms are all operating in perfect synchronization. Keep your printer firmware updated by checking the manufacturer’s mobile app or configuration utility every few months to ensure ongoing security and compatibility.




Related Articles